Getting started

Your first clear path starts here.

Move from an empty workspace to a useful, shareable flow in six practical steps.

Step 01

Join the Waitlist or Sign Up for an Account

Join the waitlist to get early access to Cambigo, or sign up for an account when the option is available. You can create an account by entering your email and a password. Cambigo also supports signing up and signing in with a GitHub, Google, or LinkedIn account. If you use this option, you will not need to create a password.
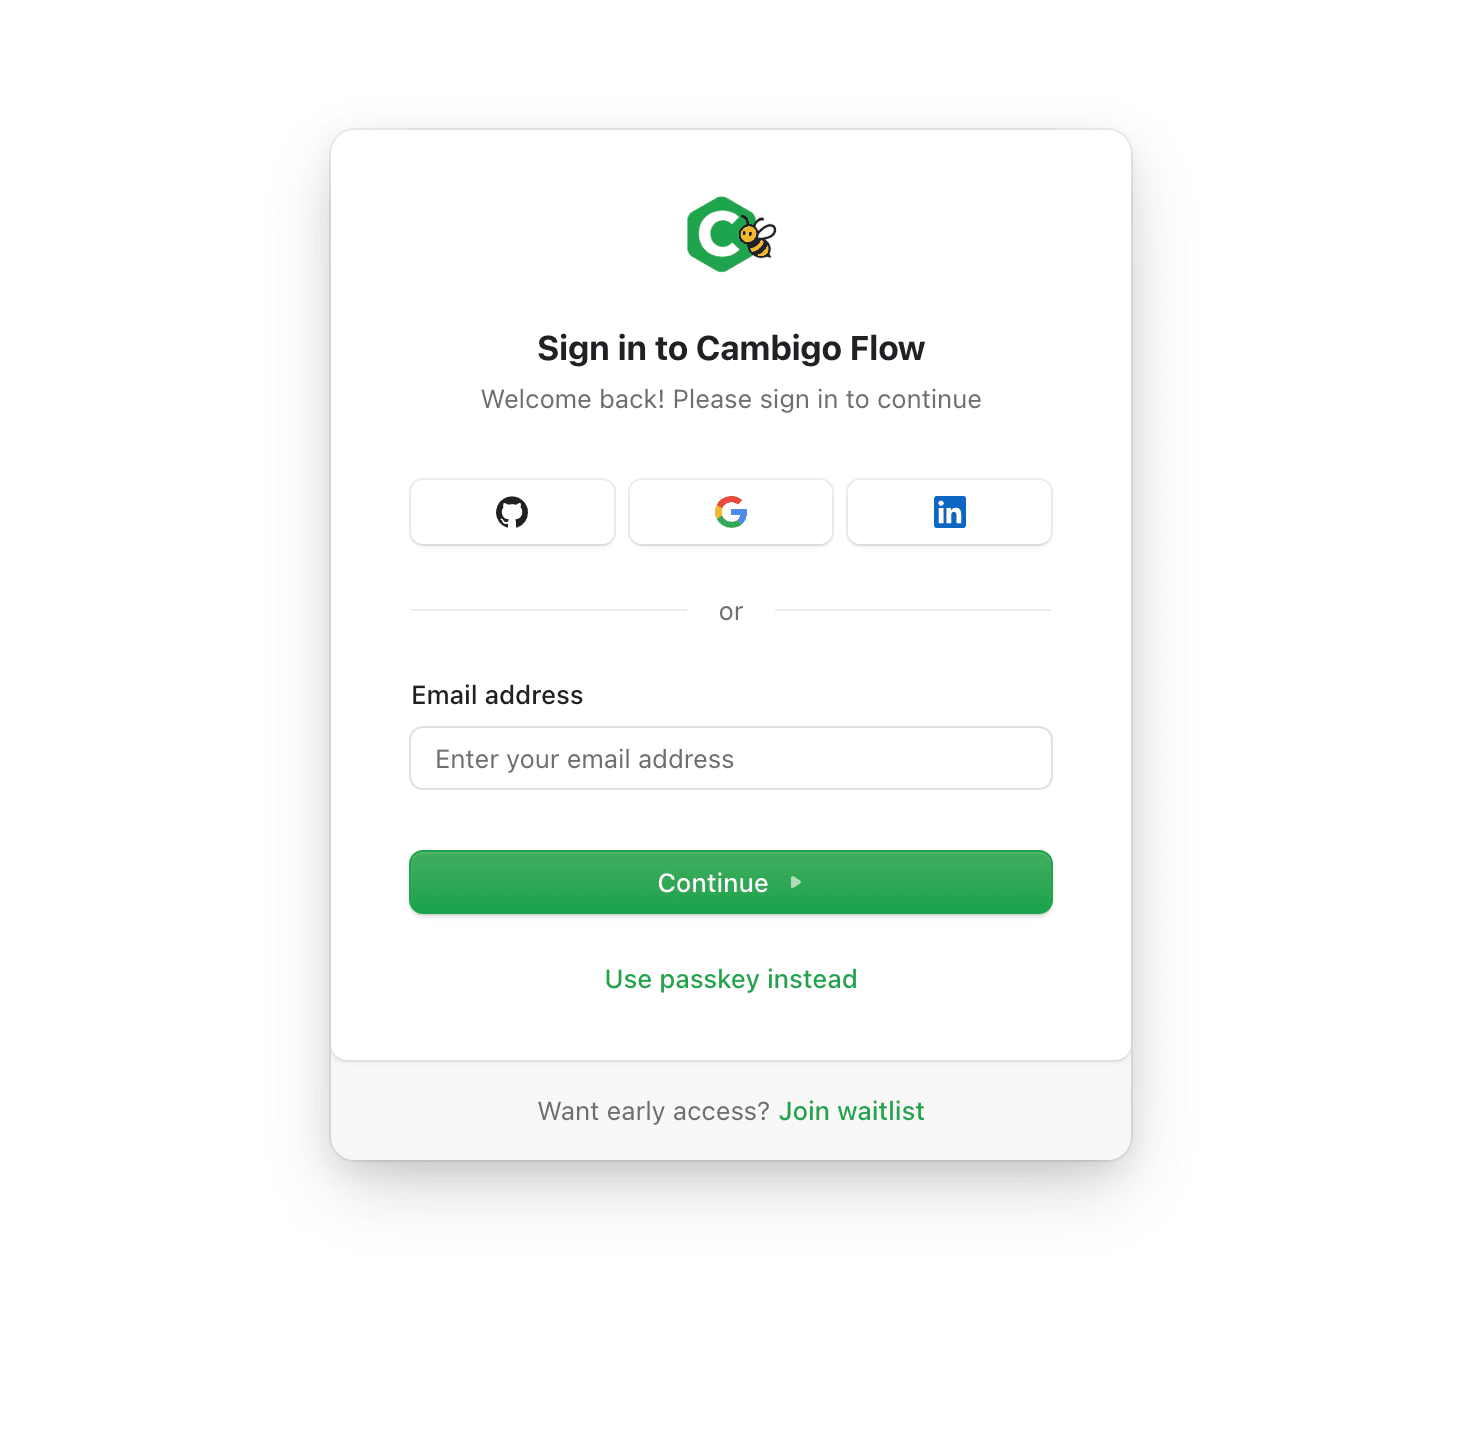
Join the Waitlist or Sign Up for an Account in Cambigo

Step 02

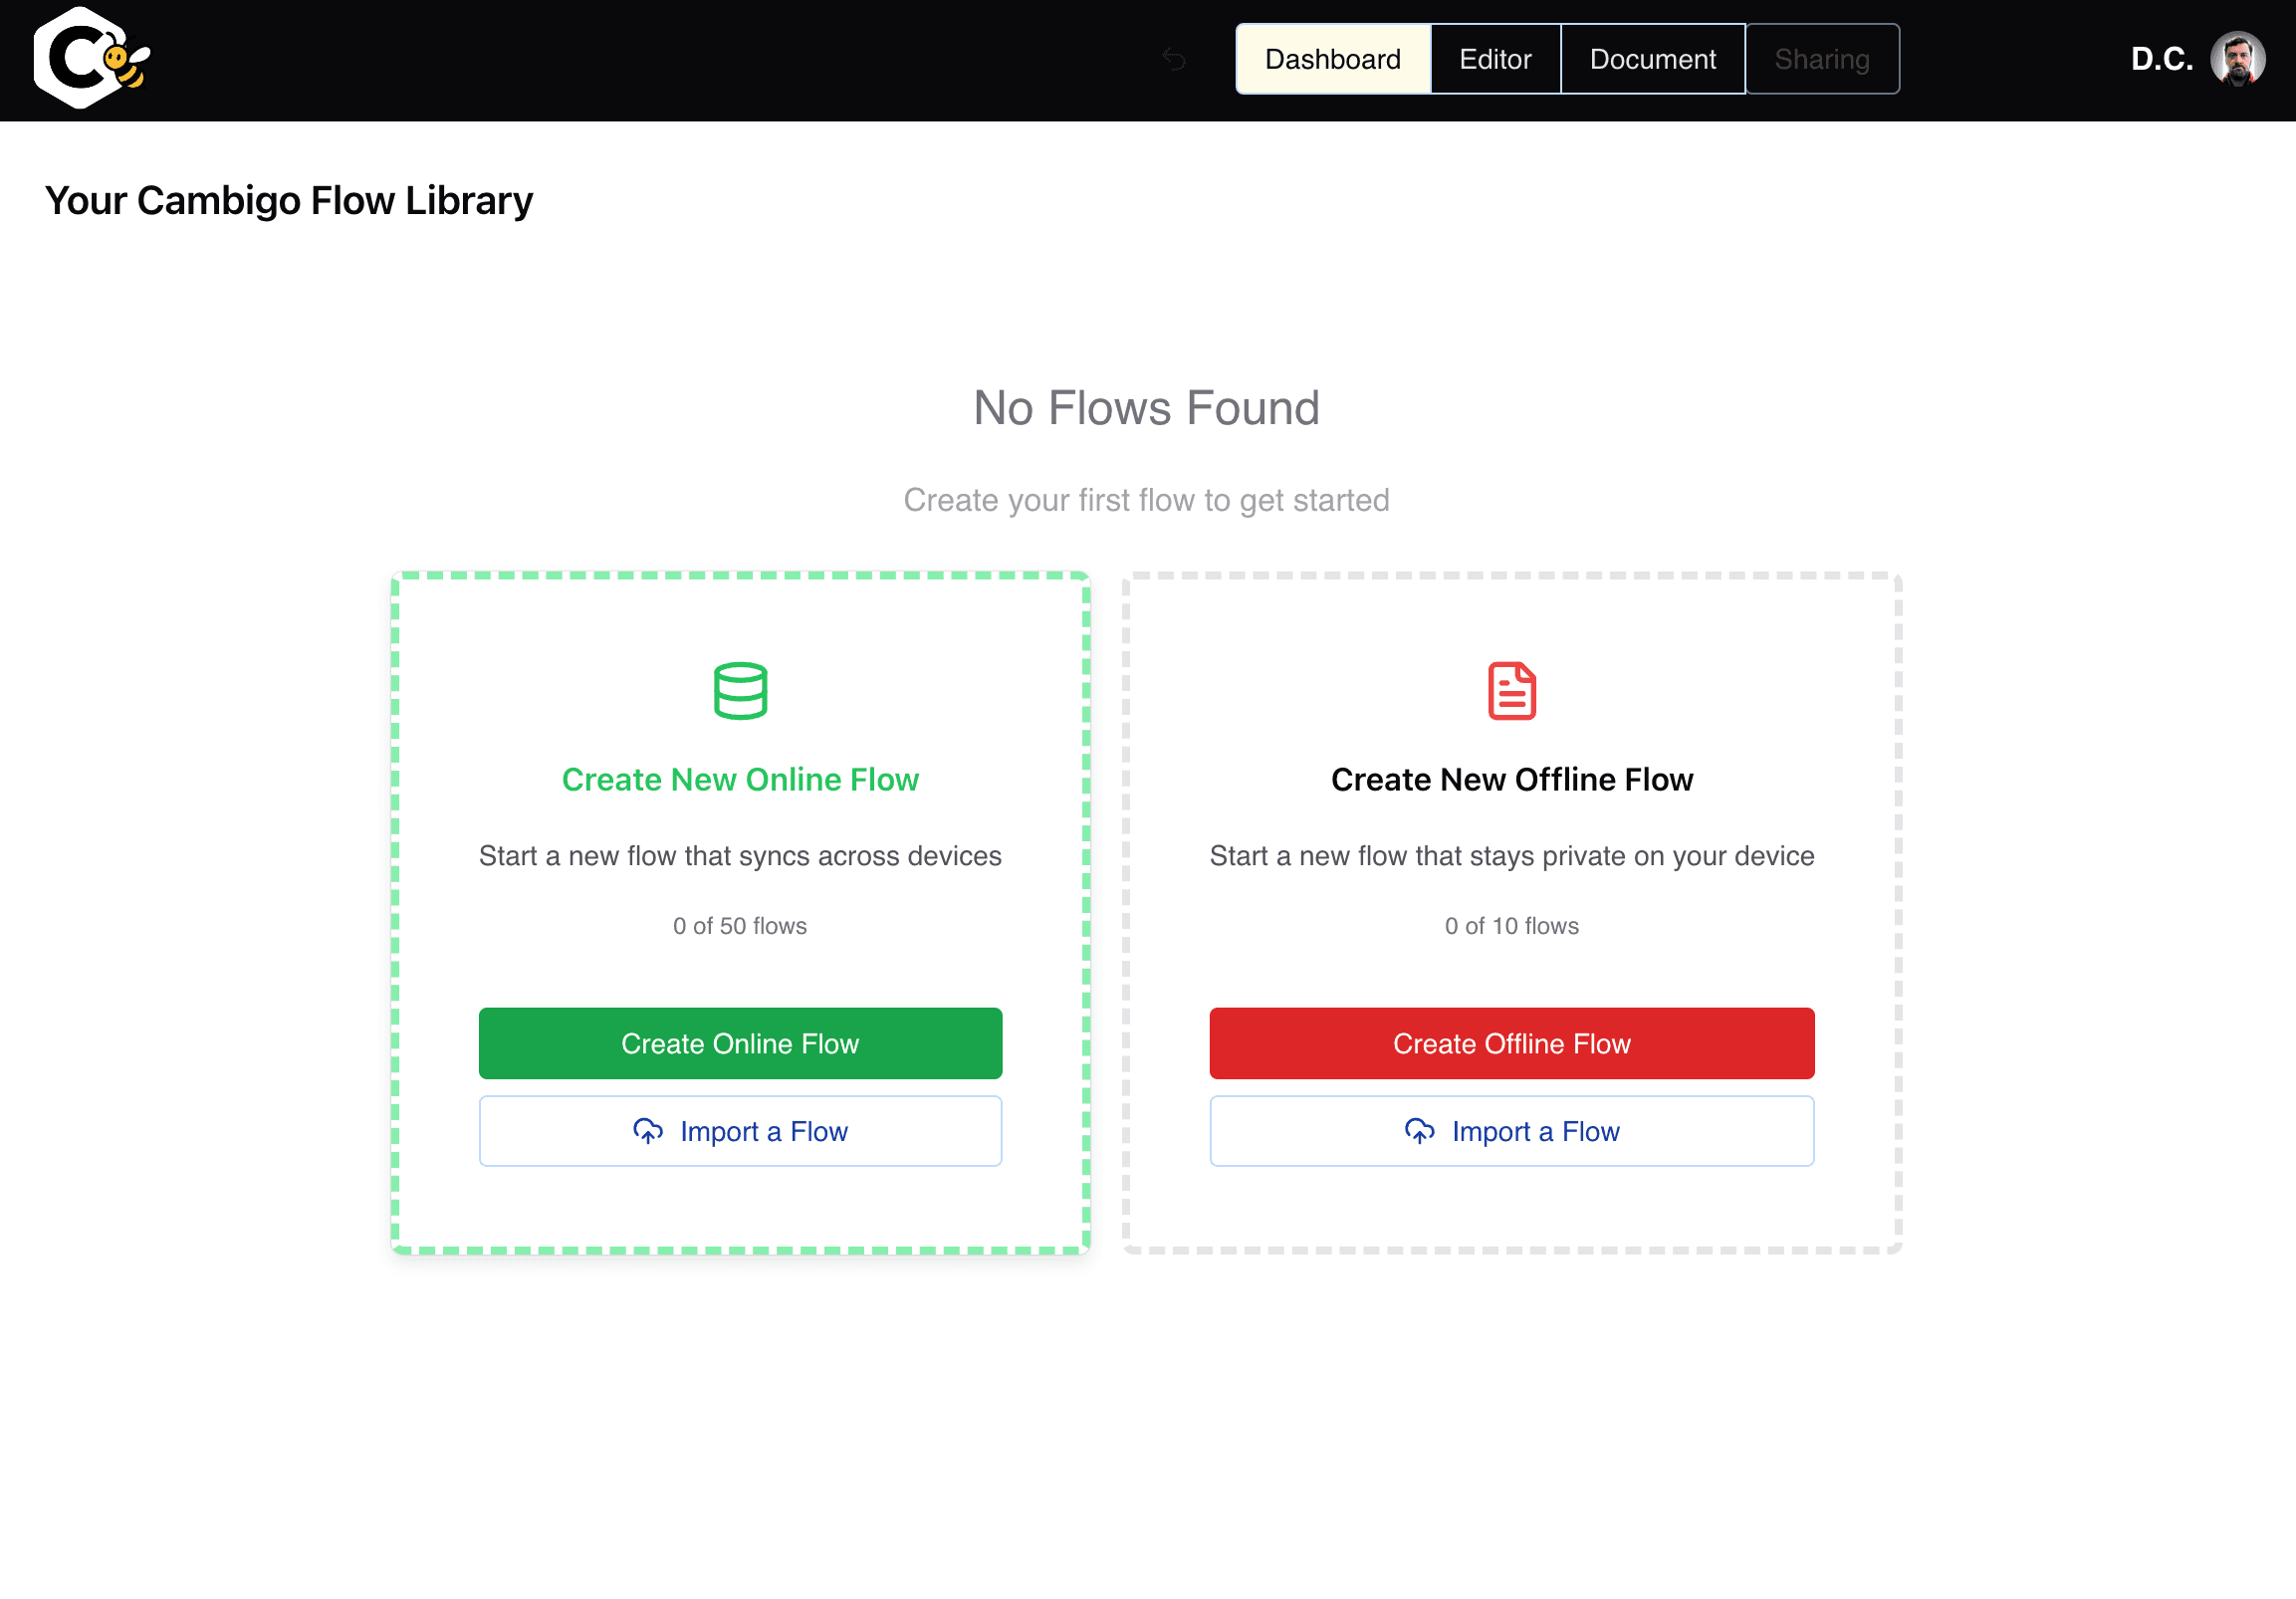
Review the Flow Library Dashboard

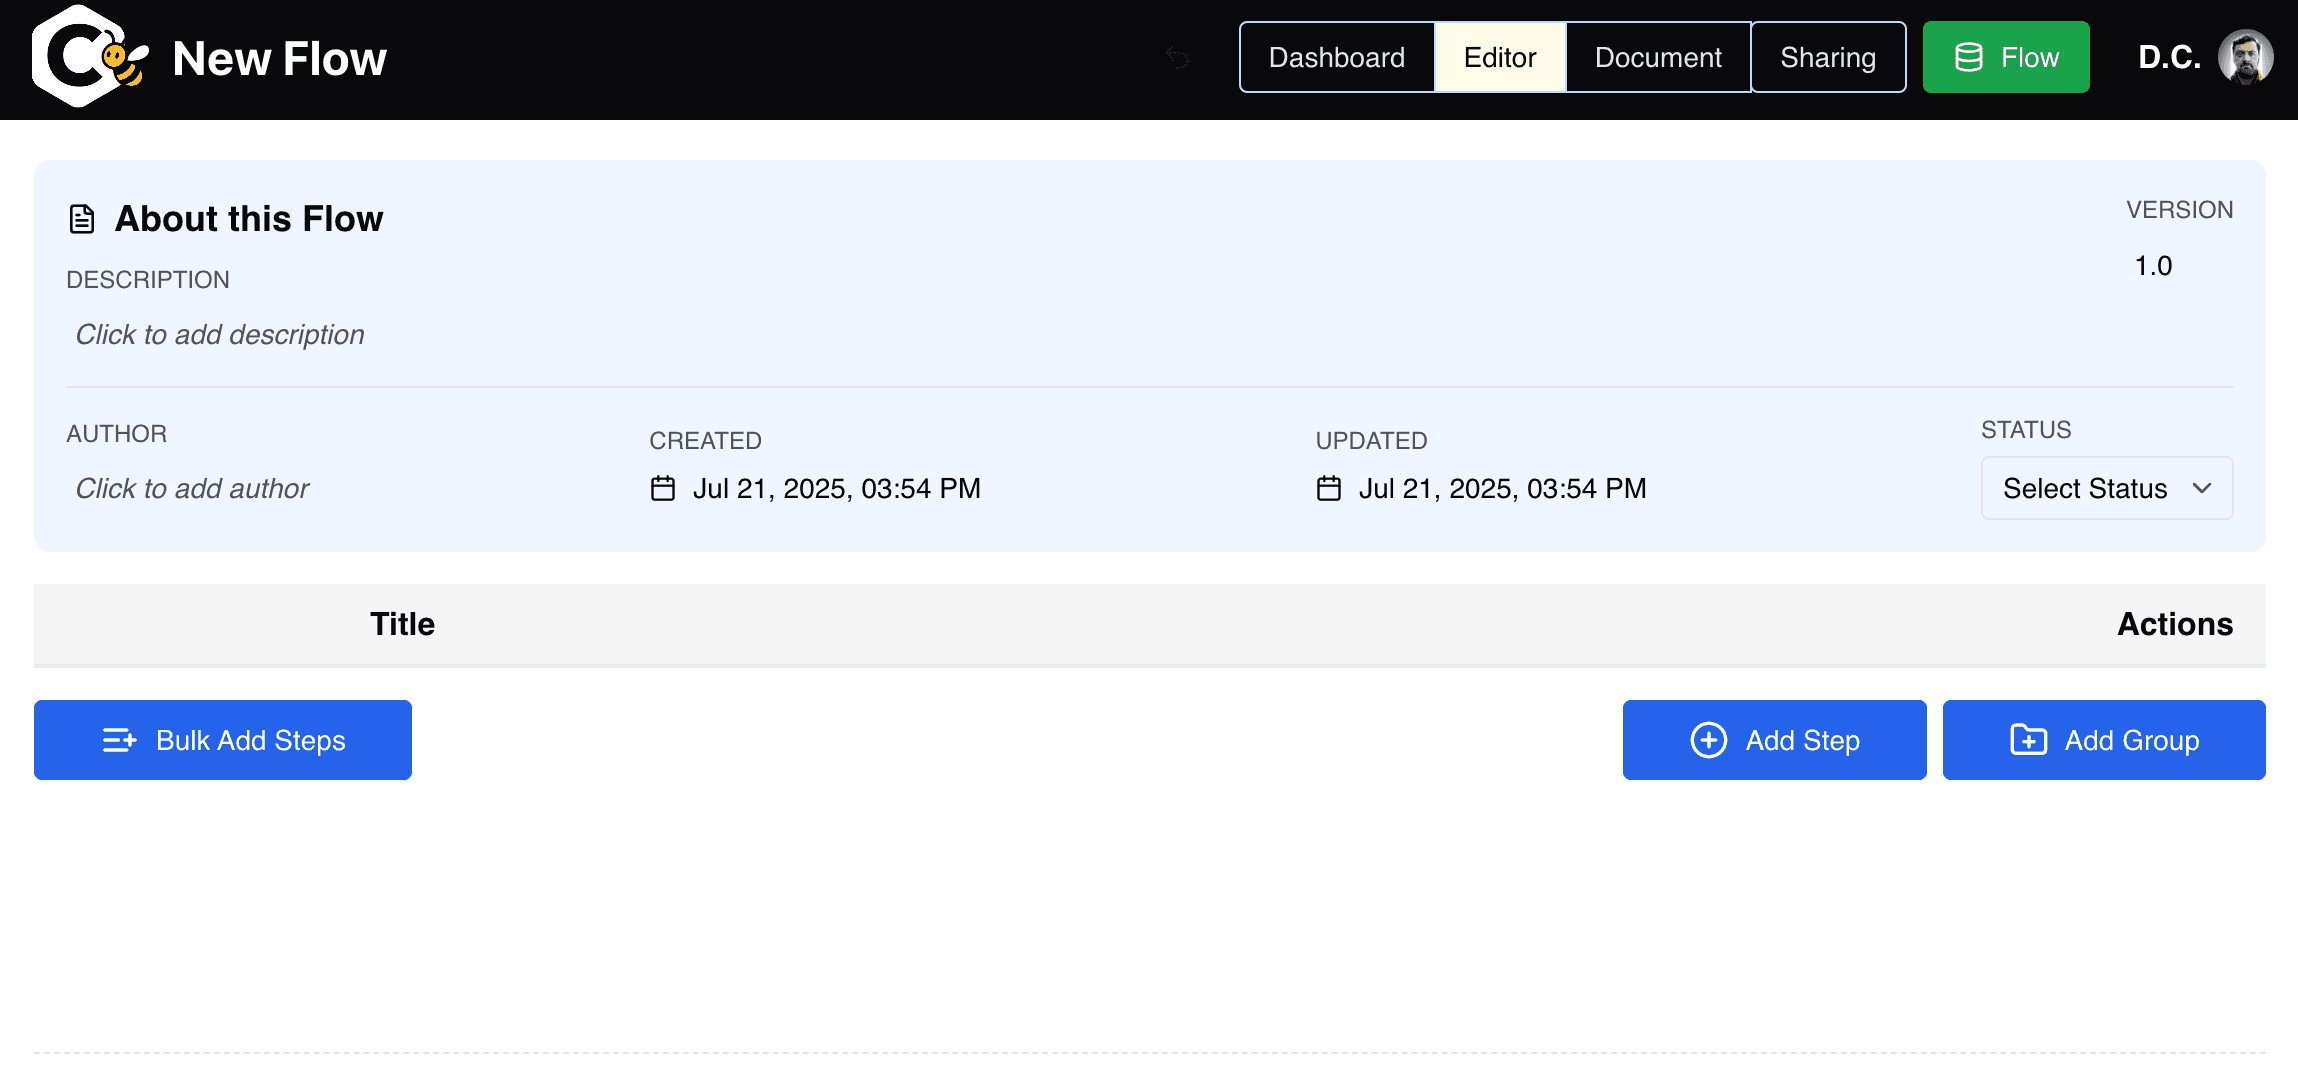
Once you log in, you will be taken to the Flow Library dashboard. You can create a new flow. Limits on the number of flows you can create will be shown in the placeholder. Offline flows are only stored in your browser. This is a good option if you do not want to store information in our database. It is very important that you back up your flows if you use this option, as we do not store them. Your flow will only be available on the device and the browser you used to create it. If you clear your browser cache, you will lose your Offline flows. If you have downloaded your flow as a JSON file, you can re-import it to restore it. You will lose any unsaved changes, so we recommend downloading once you are finished with an editing session. There is an option to convert an Offline flow to an Online flow. Online flows are stored in our database and can be accessed from any device when you log in.

Review the Flow Library Dashboard in Cambigo

Step 03

Create a Flow

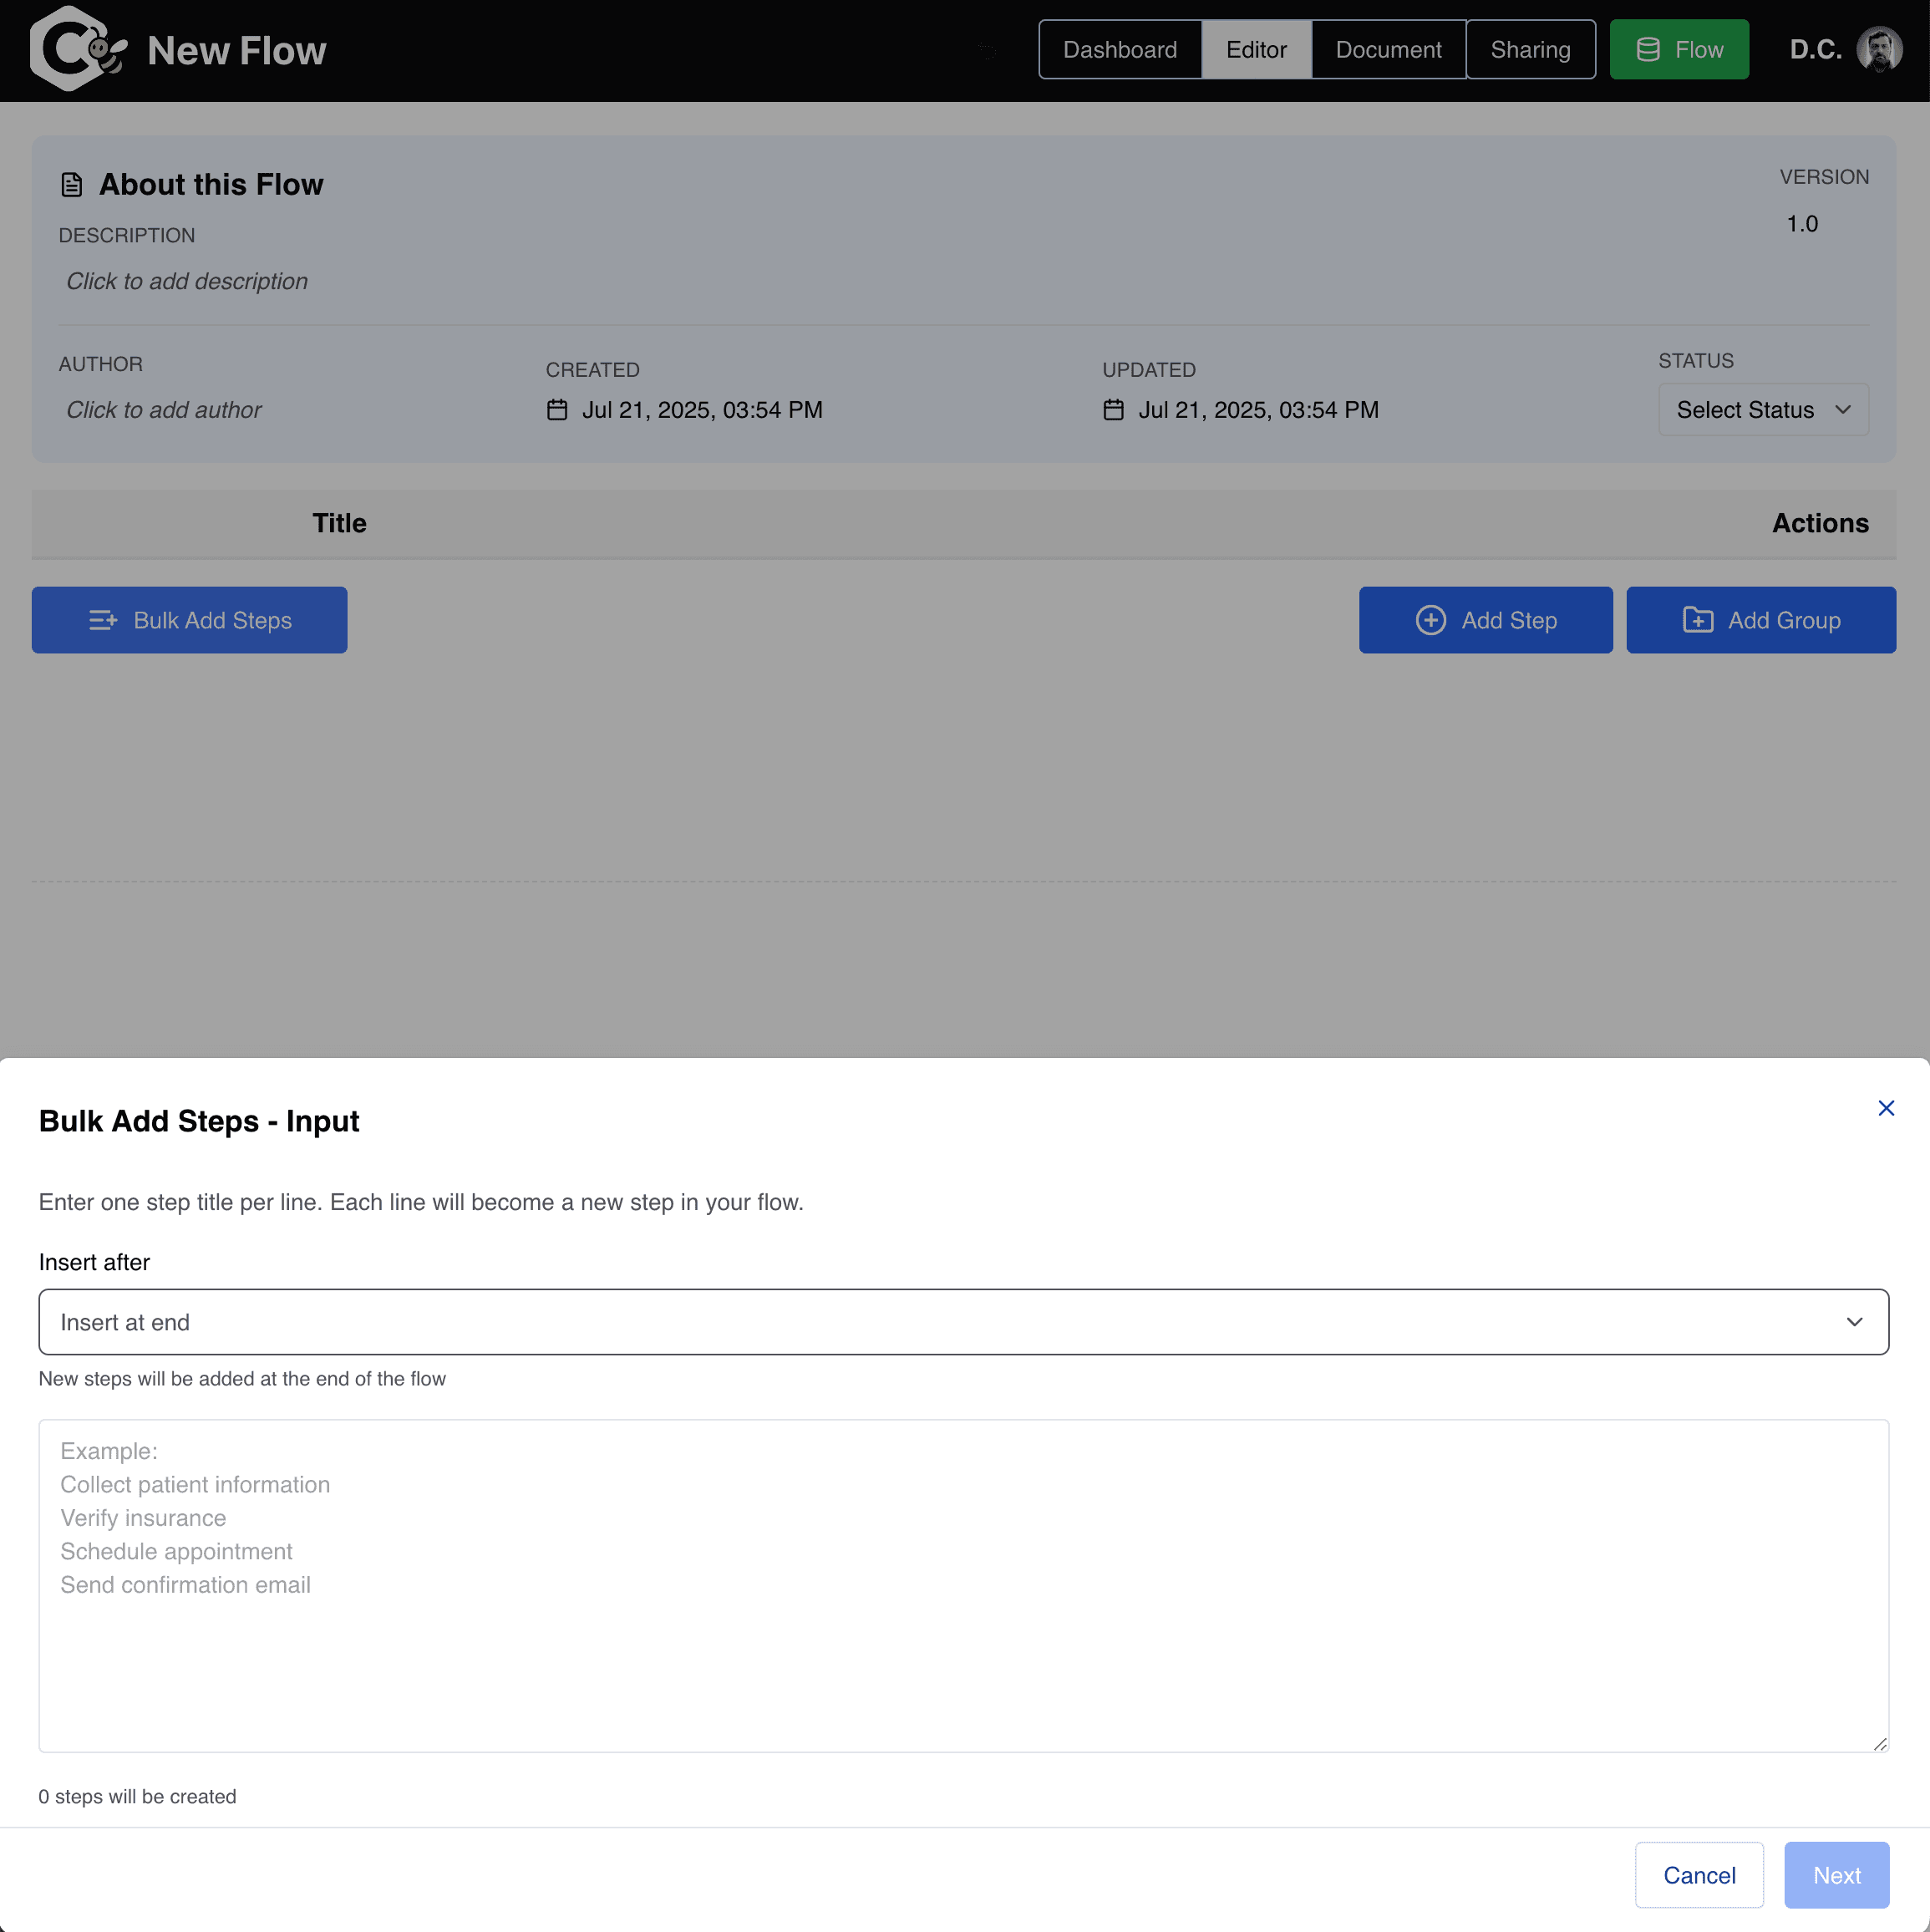
For this example, click the "Bulk Add Steps" button and a drawer will open from the bottom. Each line that you enter will become a step in your flow. You can paste steps from other applications like email, documents or web pages. You will see a count of steps on the bottom left.

Create a Flow in Cambigo

Step 04

Add Major Steps

When building a flow, there are two states of the workflow that you will want to capture: the current state or "as-is" workflow, and the desired state or "to-be" workflow. When starting the "as-is" workflow, it is helpful to start by identifying the major steps in the process. You can either have a brainstorming session with a team, or use an existing document to copy and paste the major steps into Cambigo. You can always add, move, remove and edit steps later. It may take multiple sessions to get the workflow to a very accurate representation of the process.

Add Major Steps in Cambigo

Step 05

Review and Add Steps

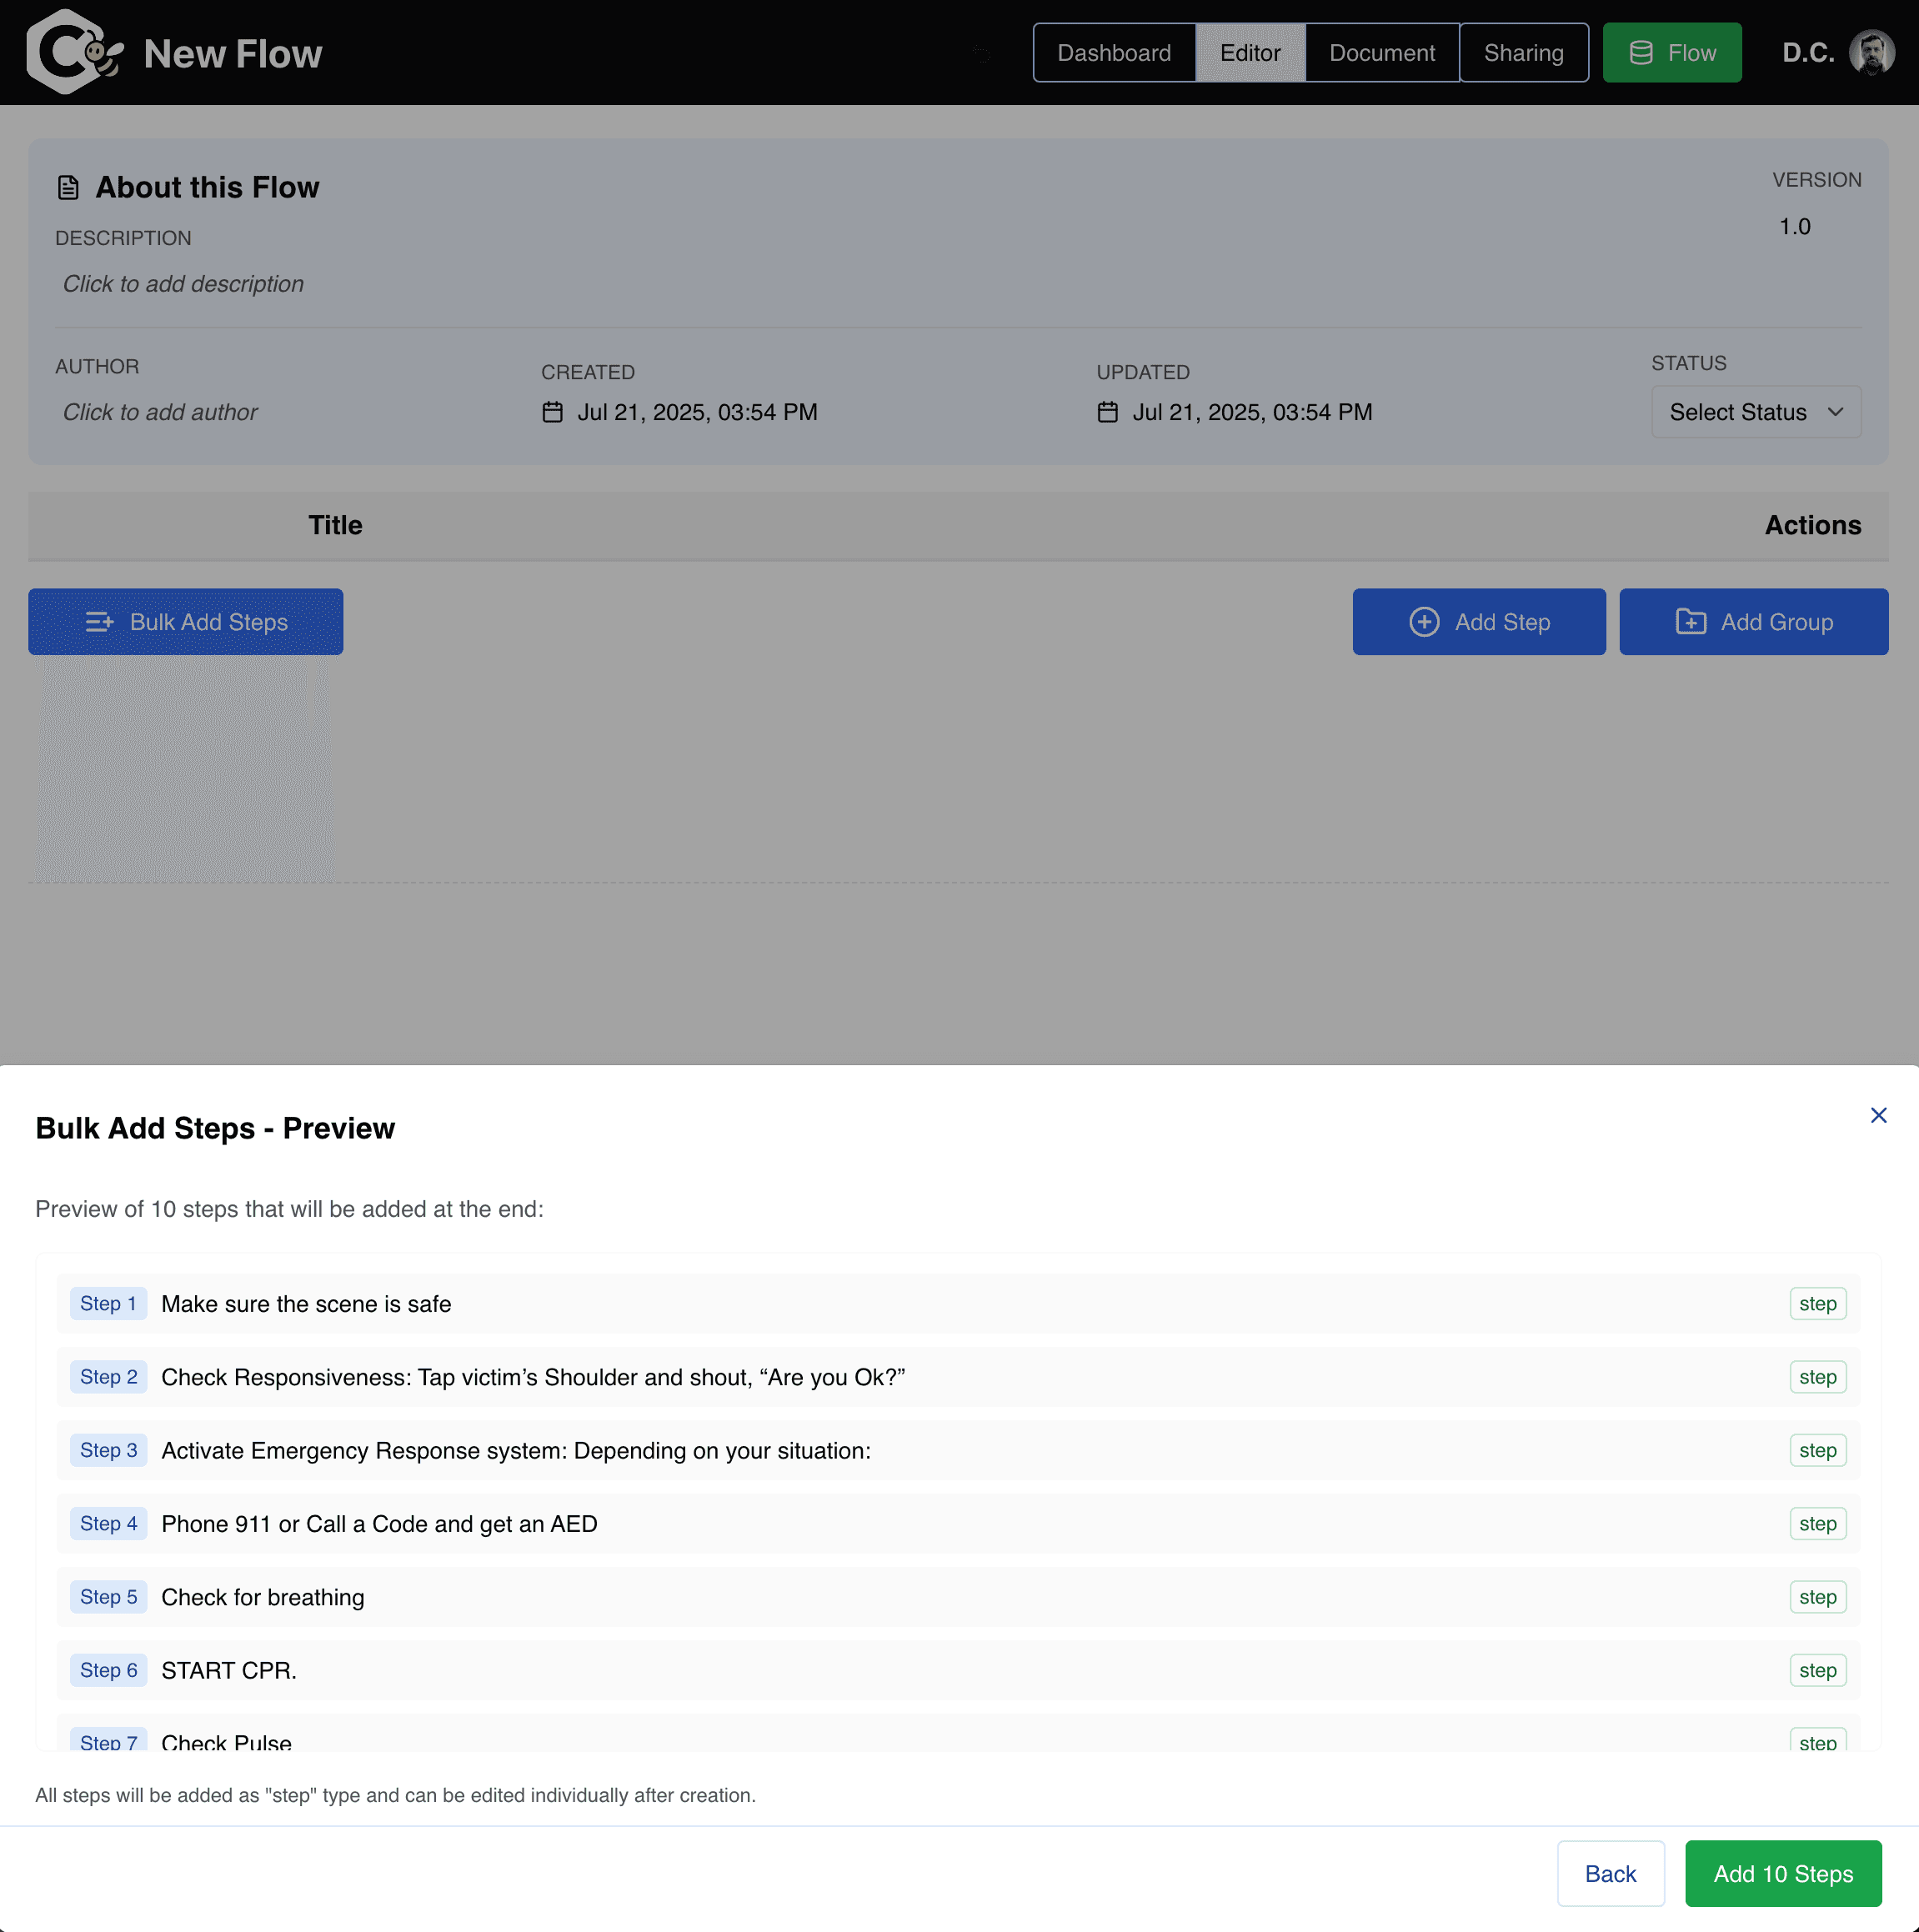
After entering your steps, click the "Next" button to preview the steps you entered. In the steps below, we will cover a process for building your flow.

Review and Add Steps in Cambigo

Step 06

Identify Information You Capture For Each Step

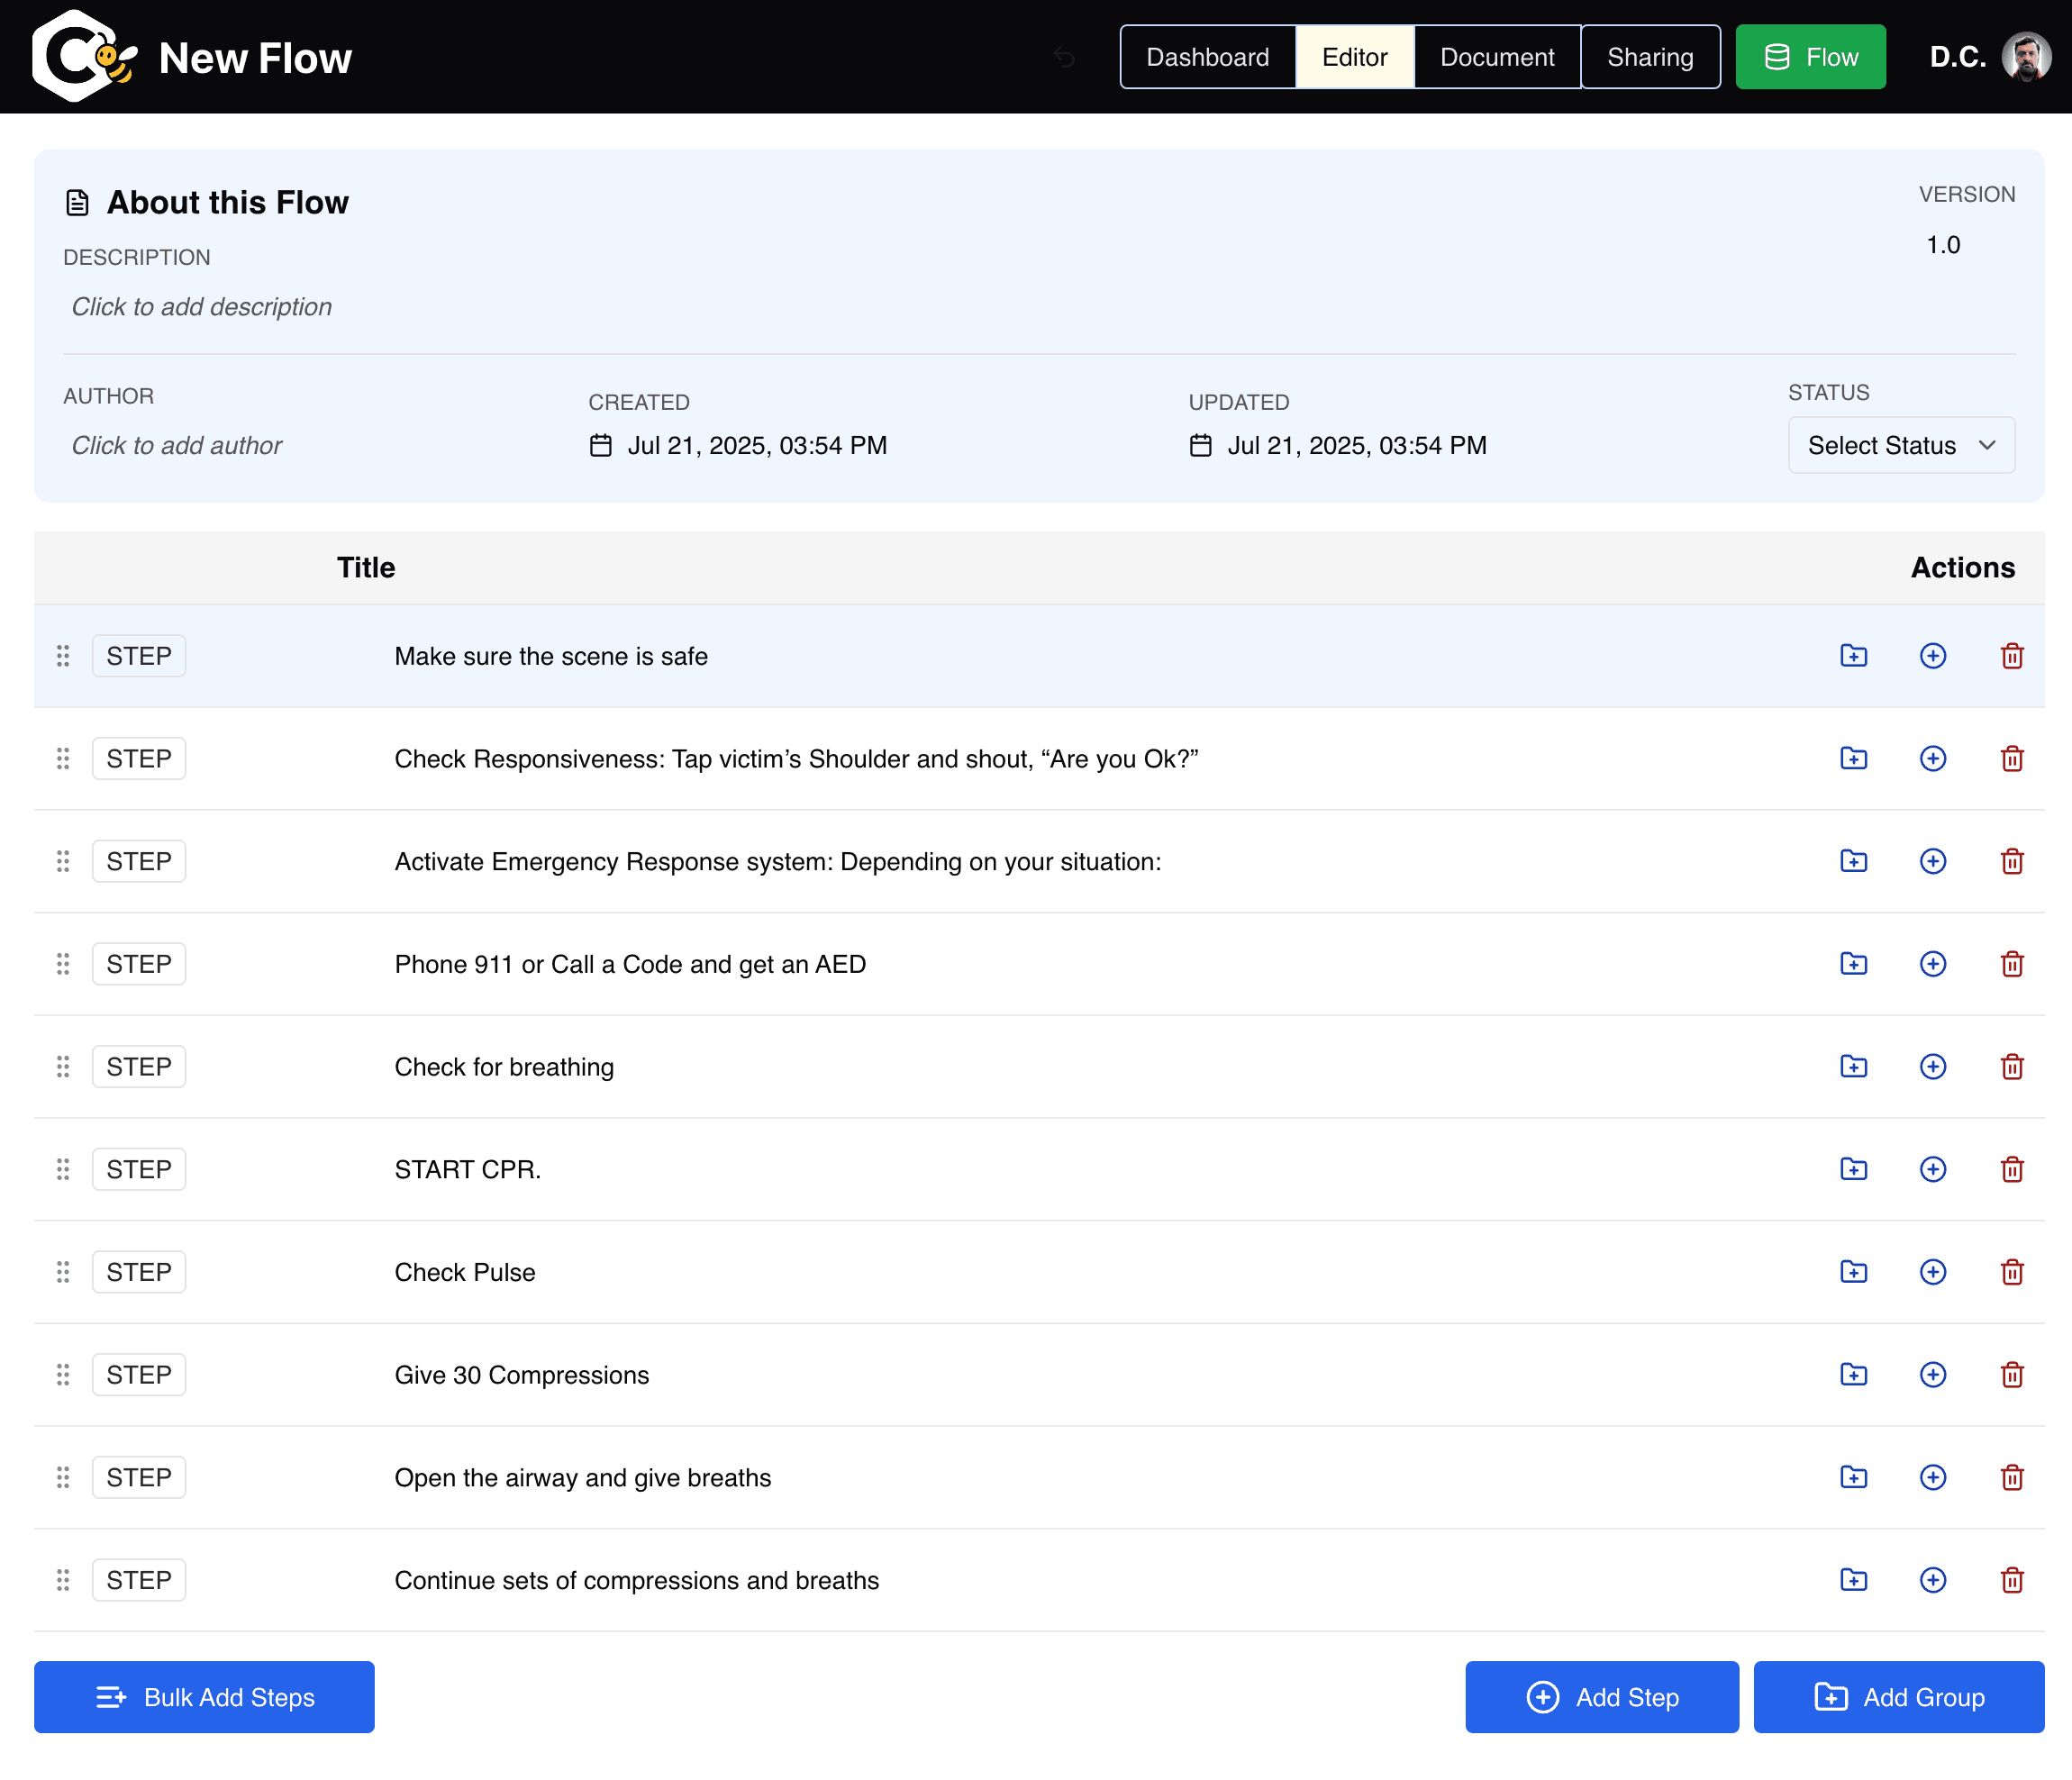
Once in the editor, you can click on any step title to open the step detail editor. In the step detail drawer, you can progressively add more information about each step. You can also reorder steps by dragging and dropping them. Click on the drag handle on the left side of the step card to drag and drop it to a new location. You can click the "Document" button at the top of the page to prepare for exporting your flow to a document, or creating reports.

Identify Information You Capture For Each Step in Cambigo

Ready to build?

Turn what you know into a flow you can use.

Sign in to Cambigo